Affichage des articles dont le libellé est Tutorial. Afficher tous les articles

15 mai 2022

KAPSULO: create your bottle cap images and add them on a printable template

Hi there! It's Marion! So I've been sharing free bottle cap images in this blog for already 10 years. (Like... what? already? This is the first one from dec 2012 😆). It was fun to do and I received a lot of positive feedback.

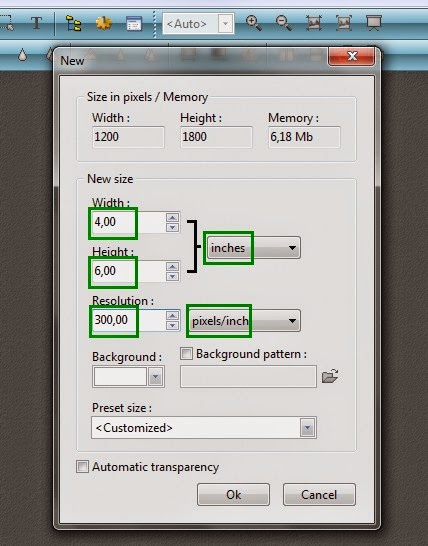
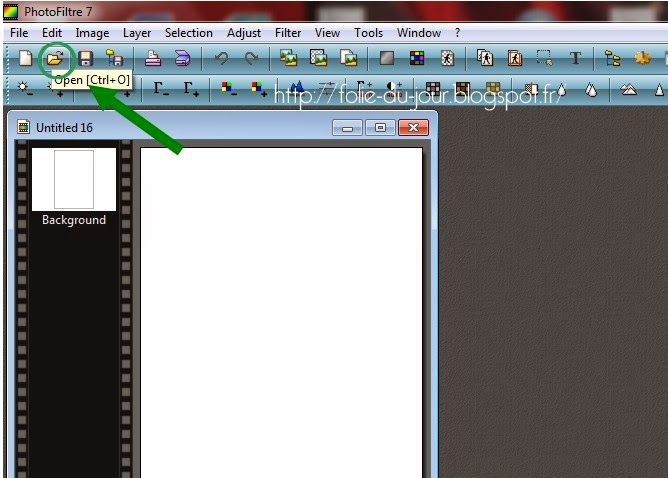
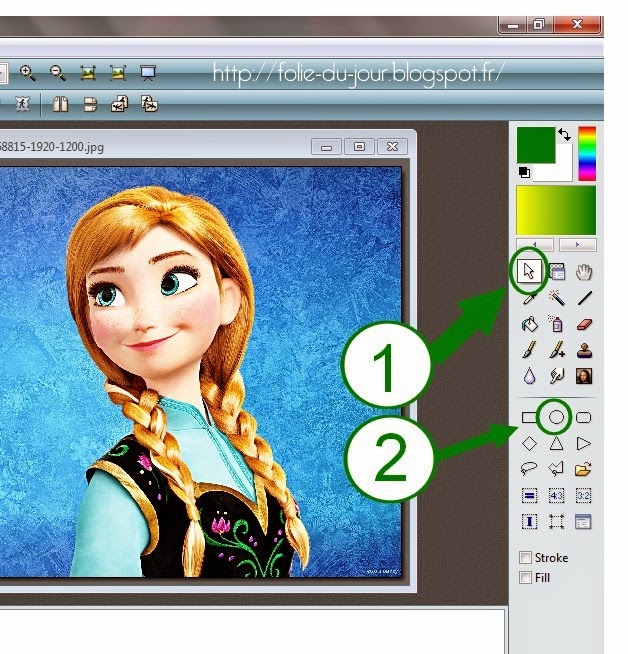
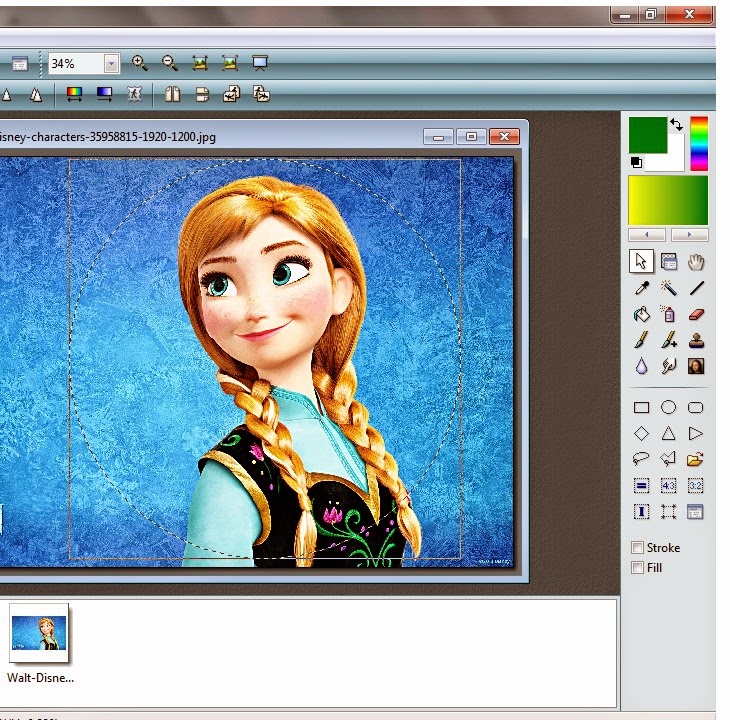
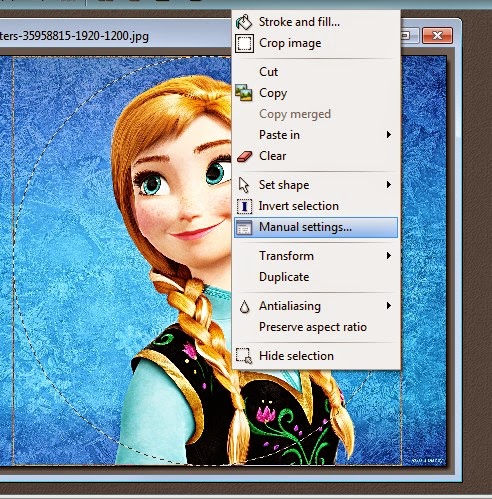
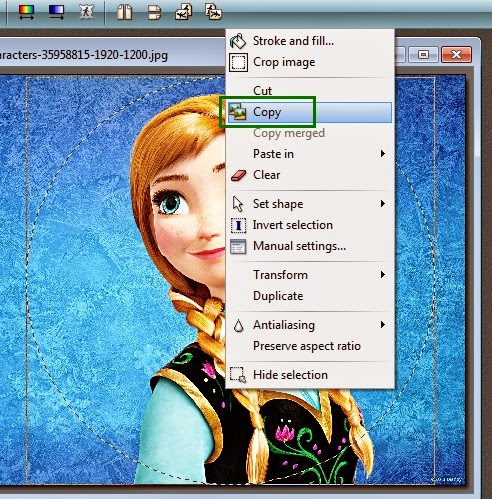
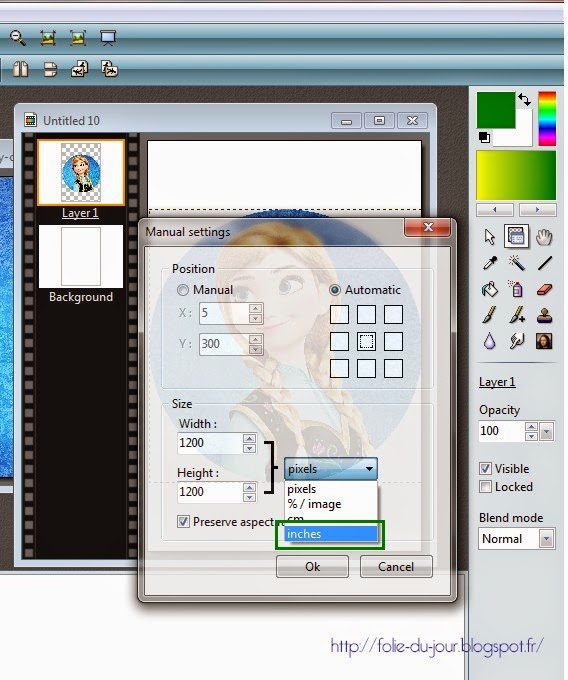
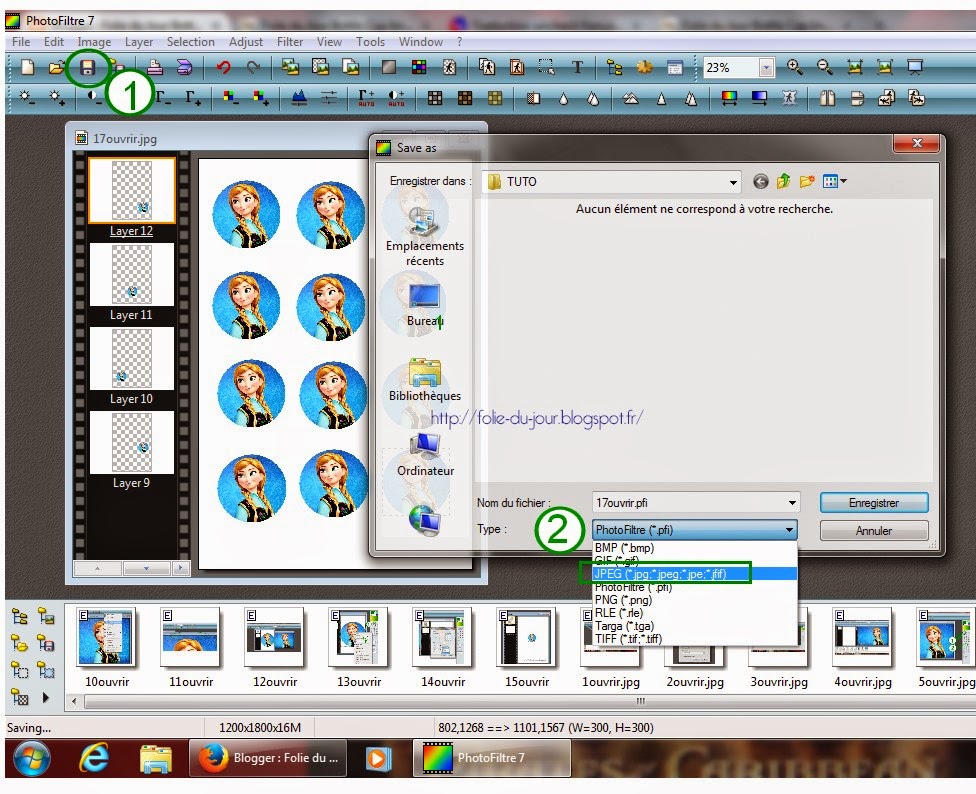
At the time I saw that a lot of people wanted to create their own images but didn't know how to use photoshop or gimp. I even did a tutorial on how to create your images.

Over the years, I gradually stopped adding more images to the blog, and almost forgot about it. But I always had the idea to create an app for people to create their own images. Since I'm not a programmer it sounded like something impossible to do.

KAPSULO
Finally I started learning about coding two years ago (guess I suddenly had some time in 2020... 😅) First I created some small video games available here. And in January 2022 I started to work on this app and it's finally out!! 😍


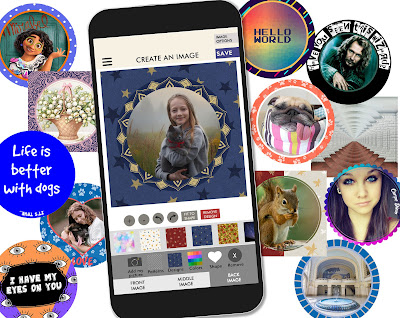
I think that it's easy to use, and it's free so try it out!

Available on the Play Store


30 nov. 2014

free Christmas images decoration black and white

free Christmas images decoration black and white

free Christmas images decoration black and white
It might not look like it, but these images are actually a typographic font.
I've downloaded the font in dafont. The link for this font is here
It's very easy to use.
1. Download your font
2. Go in the "download" section
3. Copy the font file
4. Go to Computer > :C > Windows > Fonts
5. Paste the file in the "fonts"

This kind of font works like any other font. Except that each letter is an illustration. By example, the first gift in the first template is the letter a. See the font, you will understand immediately.
The good thing is that you can decide the size of your letters/illustrations. The quality of the image will be the same.

4x6 paper / 300dpi
- You can print and use them for your art project, Stickers, Hair Bow Centers, Magnets, etc.
- Click on the image for the full size, then save.
- For your convenience the images are on a 4x6" page.


Follow us on Facebook

For your bottle caps - birthday parties - bows - necklace - jewelry - magnets - paper products - scrapbooking - collages - invitations & cards - newsletters - stationary - avatars and web banners for newborn babies and birth.

23 nov. 2014

Tutorial: How to make bottle cap necklace with pendant tray (instructions)

Hi guys !

A very easy tutorial today: how to make bottle cap necklace using a pendant tray?
The tricky part is to know where to find each item. If you don't have a craft shop near your place, it might be difficult.
But, -thanks Internet- you can find everything on Etsy or Amazon.
For this tutorial you will need:

Tutorial: How to make bottle cap necklace with pendant tray

1. Bottle cap template
Easy ! you will find hundreds in my blog !

2. 1" round pendant tray
Of course you can use regular 1" bottle cap but I think that pendant tray looks better.
The available colors are usually antique silver, shinny silver, black, copper, bronze. This item is not too expensive. If you only buy 1, it will cost around $3 or $5. I usually buy 10 or 20 each time so it cost less than $1 for each.


3. Clear 1" glass
4. Chain 60cm/24"
5. 2 jumps rings
6. Lobster clasp
7. 1" punch or scissors 
Punches are really easy to use. It will cut your image to the perfect size.


8. Super glue

Now that you have all the elements, the tutorial:
Instructions How to make bottle cap necklace with pendant tray

17 nov. 2014

Tutorial : How to change a digital template ?

Hi everyone !

I receive a lot of messages of people who ask if I can make changes to my templates. Most of the time they only need one or two images on the 4x6" paper and ask me to make a special template with only "the second image to the left, last row" or "last image of the first row", etc.
This tutorial will explain you how to do that by yourself, using Paint. Basically, if you have a template with many images that you don't need (bottle cap images, or other) you will learn how to put only the images you want. 

My computer is in French so the images will be in French, but I'll explain everything.

Let's start !

1. Open your image with paint

If you are using windows, then you already have paint (good news!)

Select your image and click right. Then click on "Open with" (ouvrir avec on the image). You will have a drop-down
menu; Click on "paint"


The image opens on paint:


 2. Replace the images


Let's say that we only want the image with Simba, the small Lion.
Click on "select" (the green square)


This will allow you to select the image we want to duplicate.

Put the arrow of your mouse at the top left of your image.
Click left
Slowly drag from top left to bottom right of the image. This will create a square.
Important: while you are doing that, you need to click left on the same time 

When you are done, you can stop clicking.
You will have something like that on your image:
Be careful: you need to select all your image.


Now click right, and select "copy" (copier in the image)


Now put your mouse on top of one image you don't want
Click Right and select "Paste" (coller on the image)


Now do the same thing for all the images !
If you want to save another image, you can select and copy/paste it on the template


 Now, you only need to save your work.
 Click on the blue square on the top left
Select "Save as" (enregistrer sous), then "JPEG format"


You're done !

3. If you need to zoom on your image


21 juin 2014

How to create 1" inch digital bottle cap images

Hi everyone !

Today I'm going to make a tutorial about how to create digital bottle cap images. 
English is not my mother tongue, so I hope you'll understand everything ! 

Let's start !

1. Using photofiltre

We will be using using Photofiltre 7.
The software is free and available here: http://www.photofiltre-studio.com/pf7-en.htm

You can download and install it in your computer.

2. Open the page

First open photofiltre.

Open a new file by clicking on the white page top left button (as in the picture)


This will open a new tab (picture 2) where you will choose the size of your page and the resolution.


Size
We will be using a 4 x 6 inches page. Make sure that "inches" are selected and not centimeters (except if you want centimeters of course!).
If you are using 8.5 x 11 inches paper or another size, you can change the size.

Resolution
The resolution is the number of pixels per inch or per centimeters.
The standard resolution is 300 per inch

Select the white background.

Click ok.


Now that you have open the page, you need to open the image you want to use for your bottle cap images.
Click on the button as seen on picture 3

Then browse your computer on the file of your image and open it.


I will use an image from Frozen for the example.
Now you should have 2 files, one with your image and one white.


3. Create the round image
 
Click on the "selection tool"
then click on the "ellipse"


Then, put the arrow of your mouse inside your image at the top left.
Click left
Slowly drag from top left to bottom right of the image. This will create a circle.
Important: while you are doing that, you need to click left on the same time 

When you are done you can stop clicking.
You will have something like that on your image:


Now we want to make sure that the circle is round and not oval.

When you mouse is inside the circle, click right.
Then select Manual settings


Here the number of pixel is not the same for the width and the height.
This mean that the round is a little bit oval.


Uncheck "Preserve aspect ratio" (otherwise the width and height will change proportionally).
Then change one number so that they are both equal.
Click Ok

When you did that. Make sure that the circle is not bigger than your image. If it is, then change the numbers for something smaller.


Now, with your mouse inside the circle, click right and select "copy".

Select your white page.
Click right on it, select "Paste"


You will have something like that:

4. Resize the round image


This is great ! But the round image is far too big !

Select the "Layer manager tool" (1) then click right on the round and select "manual settings" (2)


Change from pixel to "inches"
We want 1" bottle cap images. 
So put 1 as width (the height will automatically change).
If you need another size like 2 or 3 inches just put this number instead of 1.


Now you have a 1 inch digital bottle cap images.
Congratulations !

You can move it in another place on the white page.
Just click left and move it around (you need to click on the same time).


Now you can copy and paste it several times if you want the same image.
Or you can do the same tutorial for another image on the same page.

Don't forget to save.
1. click on the diskette
2. Select JPEG
3. Change the name of the file
4. Click save

You're done !

Hope this will help ! don't hesitate to share on the comments.
If you have any questions, don't hesitate to ask me on the comments.